Conversion Tracking: Set Up Meta Pixel Using Google Tag Manager
Why Conversion Tracking Matters 🎯
Conversion Tracking :Running ads without tracking results is like driving with your eyes closed. You might get somewhere, but you won’t know how or why.
That’s where Meta (Facebook) Pixel comes in. It helps you track visitor actions on your website after they interact with your ads—whether they sign up, purchase, or just browse.
And the best part? With Google Tag Manager (GTM), you can install and manage your Pixel without touching a single line of code.
In this guide, I’ll walk you through:
✅ What Meta Pixel is and why it’s essential
✅ How to install it via GTM using the built-in template
✅ How to set up conversion tracking for key actions
✅ How to test if everything is working
Let’s make tracking easy! 🚀
🔹 What is Meta (Facebook) Pixel & Why Use It?
Meta Pixel is a small script that tracks how visitors interact with your website. It allows you to:
✔️ Measure ad performance – See which ads drive results
✔️ Optimize for conversions – Show ads to people likely to take action
✔️ Retarget visitors – Bring back users who didn’t convert the first time
✔️ Build lookalike audiences – Find new potential customers similar to existing ones
💡 Why use Google Tag Manager (GTM)?
📌 No coding required – Everything is done through a simple interface
📌 Better organization – Manage all your tracking in one place
📌 Faster updates – Modify tracking without editing your website’s code
🛠️ Step 1: Create Your Meta Pixel
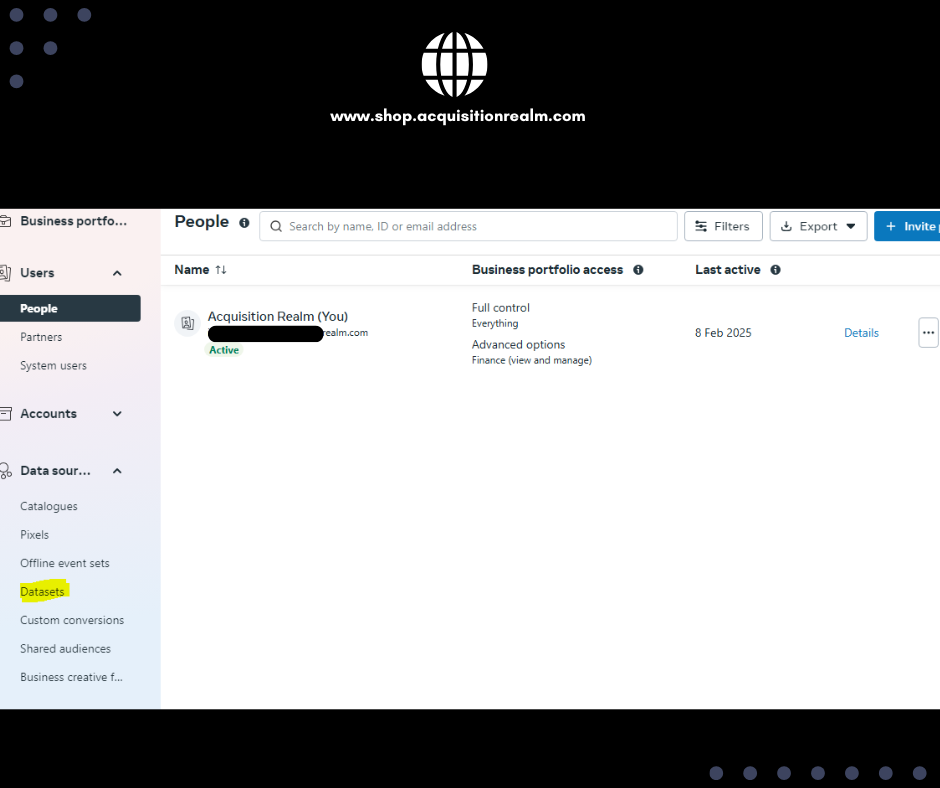
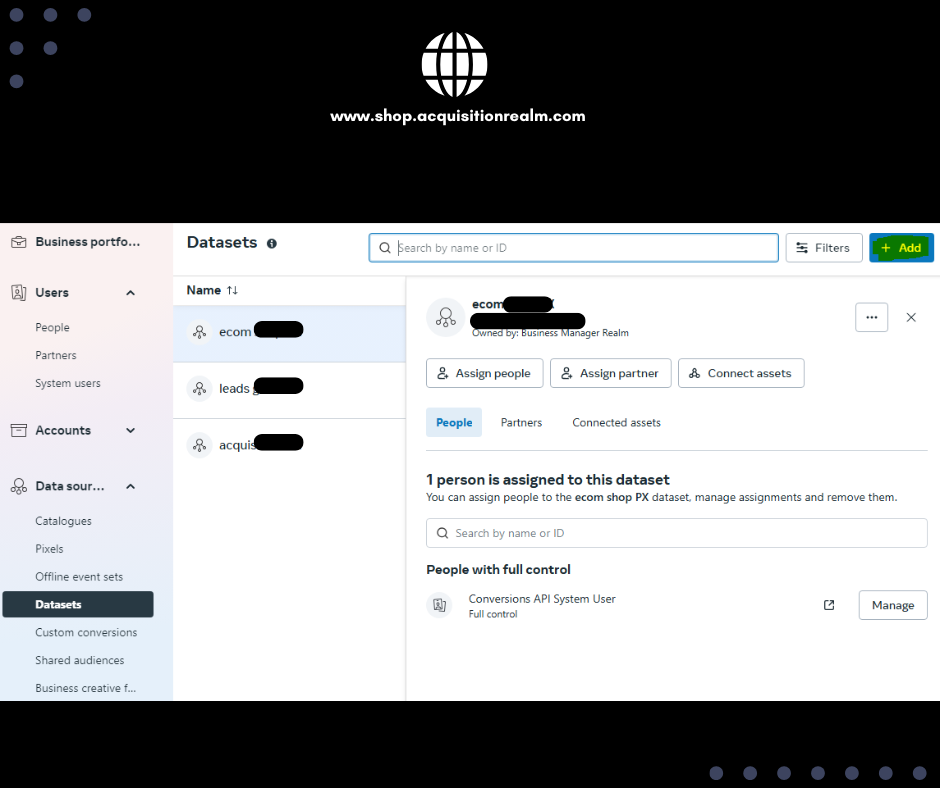
1️⃣ Go to Meta Business Manager.
2️⃣ Click Events Manager > Data Sources > Pixels.
3️⃣ Click Create a Pixel, name it, and add your website URL.
4️⃣ Copy your Pixel ID – You’ll need this in GTM.
🛠️ Step 2: Install Meta Pixel in Google Tag Manager (No Code Needed!)
Now, let’s set up the Pixel using GTM’s built-in template.
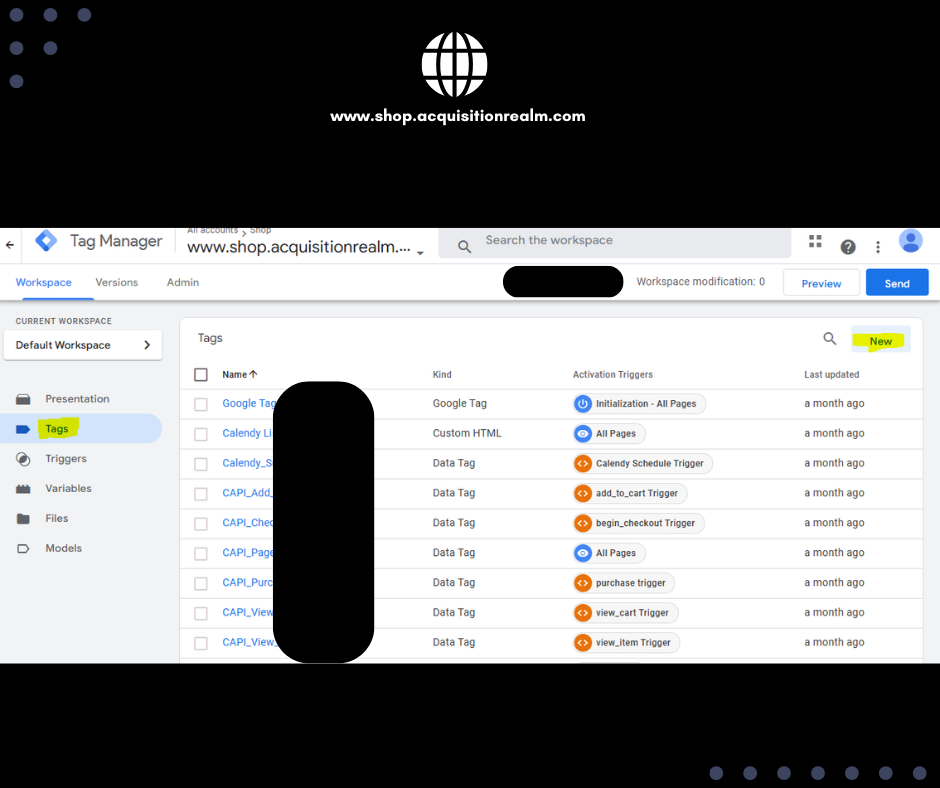
1️⃣ Log in to Google Tag Manager and select your container.
2️⃣ Go to Tags > Click New.
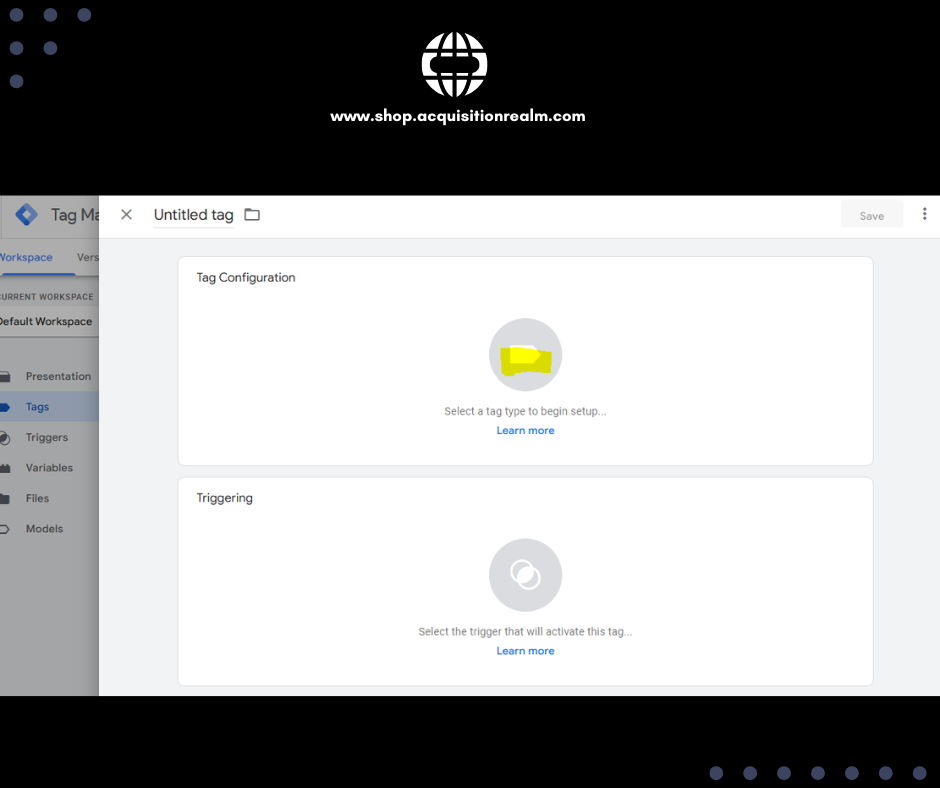
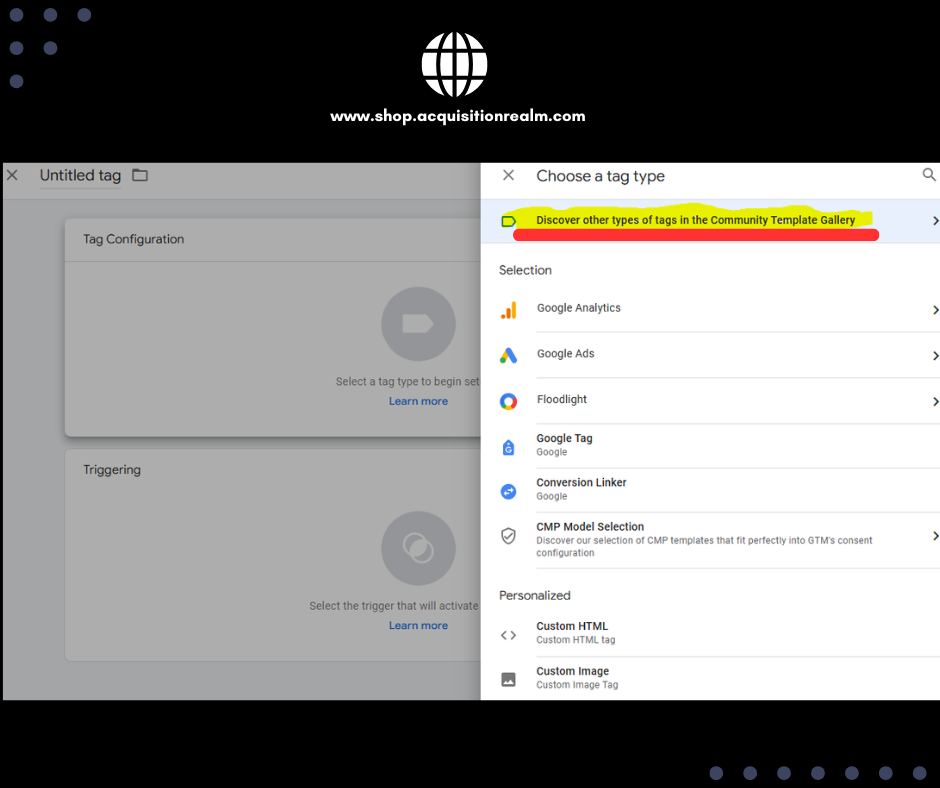
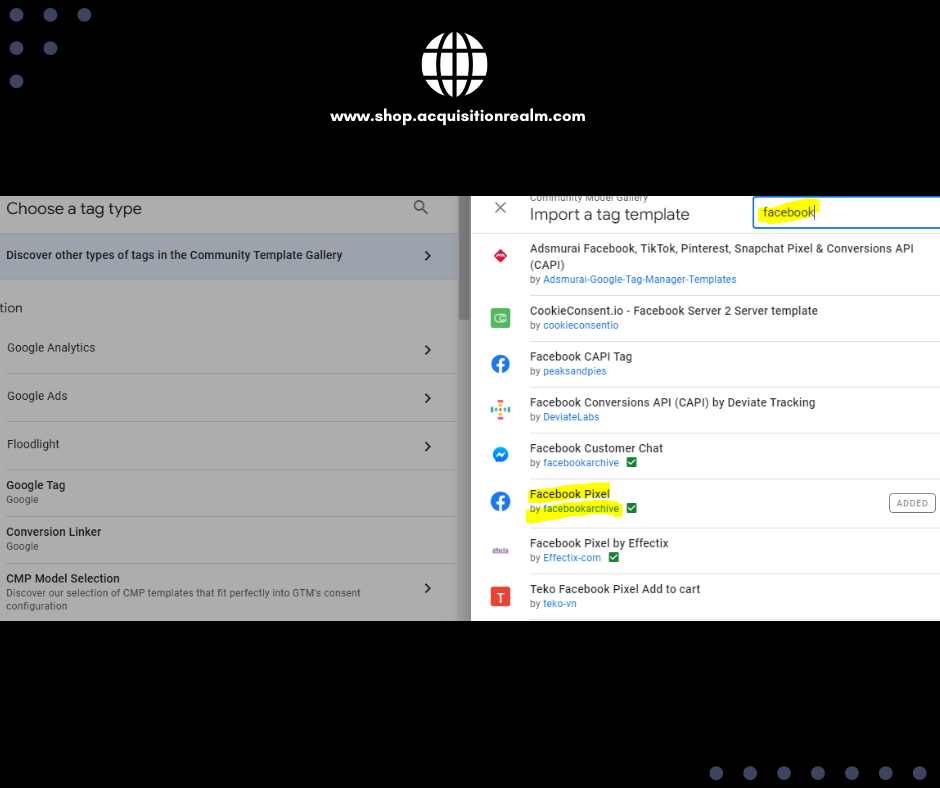
3️⃣ Click Tag Configuration > Choose Tag Type.
4️⃣ Select Meta (Facebook) Pixel from the list.
5️⃣ Enter your Pixel ID.
6️⃣ Set Triggering to All Pages (so it fires on every page load).
7️⃣ Click Save & Publish.
✅ Your Meta Pixel is now installed!
🛠️ Step 3: Setting Up Conversion Tracking (No Code Needed!)
Now that the Pixel is live, let’s track key actions like purchases, leads, or form submissions.
1️⃣ Go to GTM > Tags > New.
2️⃣ Click Tag Configuration > Select Meta (Facebook) Pixel.
3️⃣ Under Event Type, choose the action you want to track, such as:
- Lead (form submission)
- Purchase (completed checkout)
- CompleteRegistration (sign-ups)
4️⃣ Set a Trigger for when the event happens (e.g., “Form Submission” or “Thank You Page”).
5️⃣ Click Save & Publish.
✅ Done! Now Meta Pixel will track your conversions.
📊 Step 4: Verify & Test Your Pixel
Make sure everything is working by:
✔️ Using Meta Pixel Helper Chrome Extension – It detects if the Pixel is firing correctly.
✔️ Checking Facebook Events Manager – Go to “Test Events” to see real-time tracking.
✔️ Using GTM’s Preview Mode – Simulate user actions and confirm the tracking setup.
🎯 Final Thoughts: Smarter Tracking, Better Results
By setting up Meta Pixel through GTM, you now have a powerful and automated tracking system that will help you:
✅ Track and measure ad performance
✅ Optimize campaigns for higher conversions
✅ Retarget visitors and boost sales
And the best part? No coding was required! 🎉
Need help? Get a Quote Now.
Drop a comment below! 👇

[…] For more detail information check our post in this website, visite here […]
Great information!